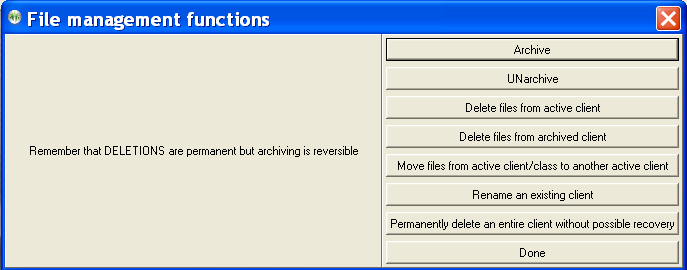
Archive
The Archive selection pops up the following menu:
Selecting Archive (for example) pops up the client selection screen:
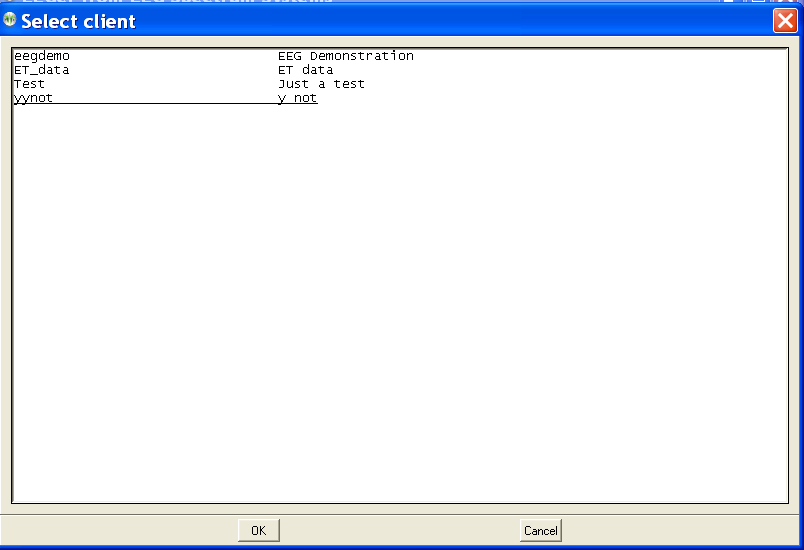
After selecting a client, the client data is examined and a selection screen is displayed.
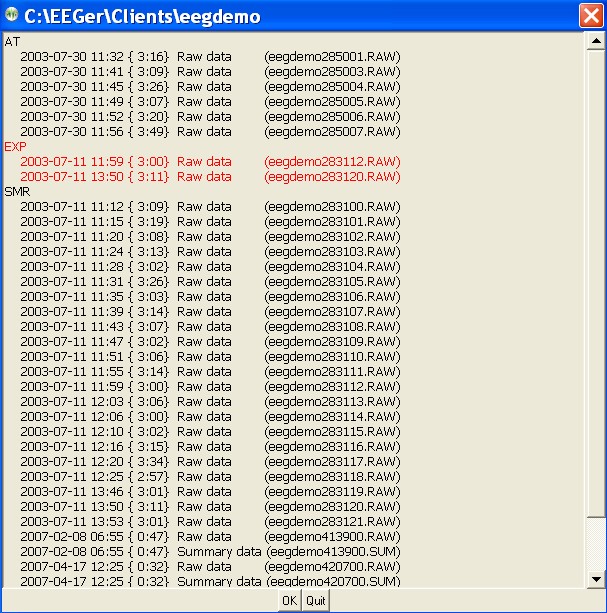
Shown here is the entire
Exp protocol class selected. The date/time of each session is displayed.
Clicking on OK causes the data to be archived. This means the data is compressed into the appropriate client-specific .ZIP file and removed from the active client section. If the protocol class item was selected (red), the entire protocol class subdirectory is removed. You need to do this to remove the client completely from the client list.
When data is UNarchived, the directory and subsidiary files are restored to the current client path but the data is left in the archive file.
The archive/unarchive process is circular. You can archive an entire client, move the archive file to another computer, unarchive it, and have the complete client history, data, and setups available just as if it was always on the new computer.
Individual files can be deleted from either current clients or archived clients by selecting Delete files from active client or Delete files from archived client as applicable. The process of file selection is common to all the archive functions.
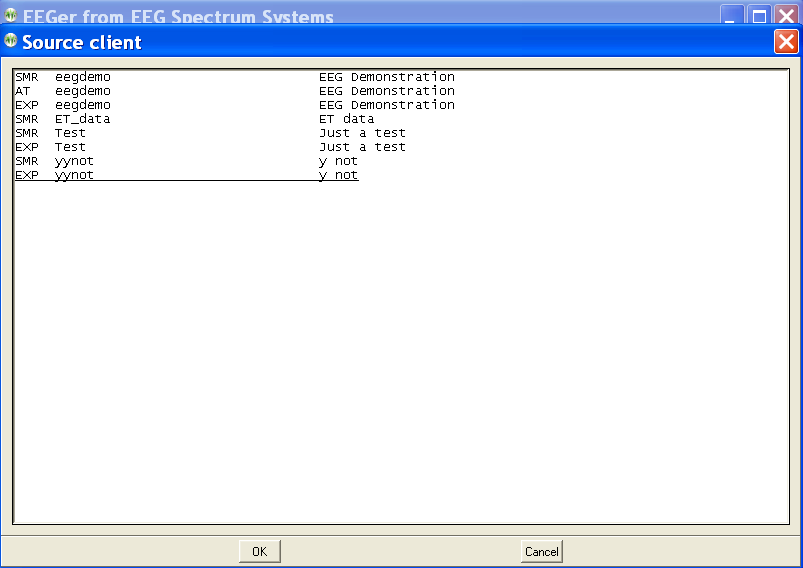
If the Move files option is selected, a source client selection screen is shown:
After a client is selected, a screen is shown to allow selecting which files are to be moved.
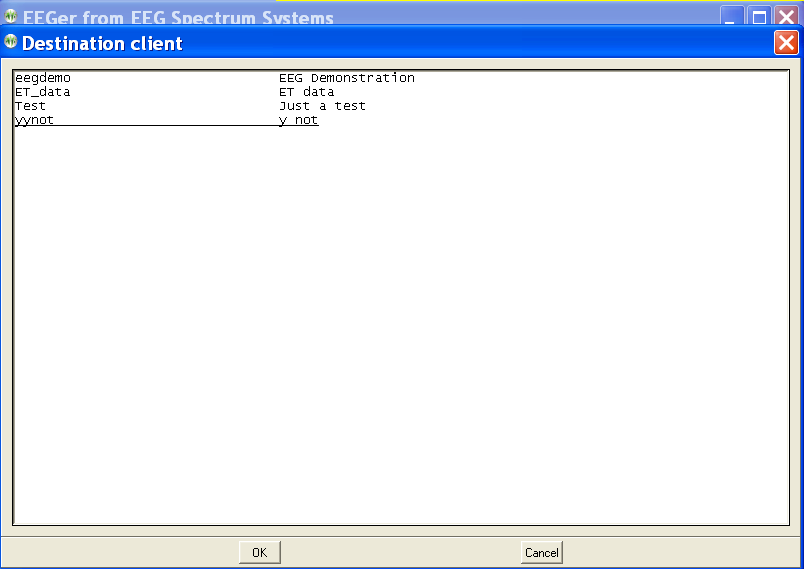
After picking the files, a destination client selection screen is shown.
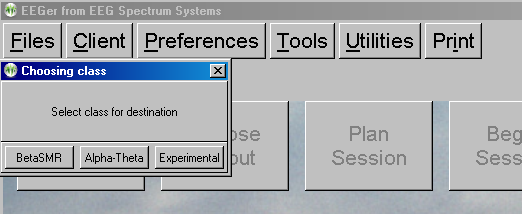
Now a protocol class for the destination client must be chosen. Of course, you cannot move from the same client/protocol class onto itself. You can move files from one protocol class to another within the same client.
When moving files, the following screen shows the options for move.

During the move, the source client codenames and fullnames will be replaced by the destination client codename and full name.
If the rename client option is selected, the client selection screen is displayed:
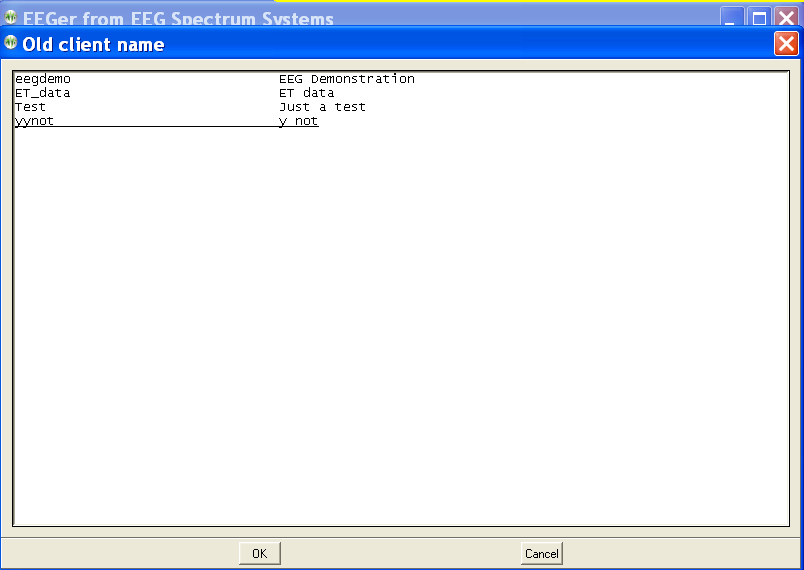
Once a client is selected, a new client name must be entered that does not conflict with any existing client.
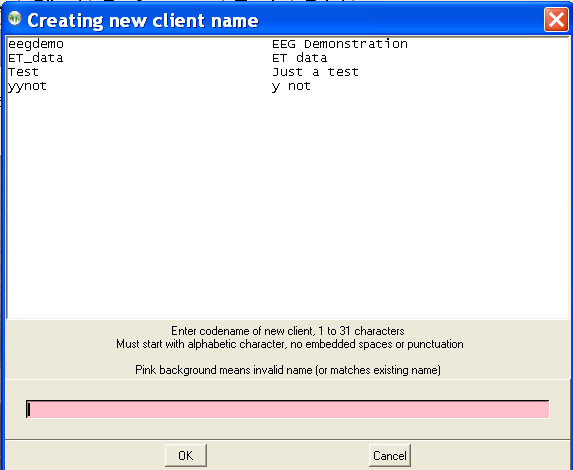
Once the full name and birthday are entered, all the "old" client files will be renamed to the new names including internal references.
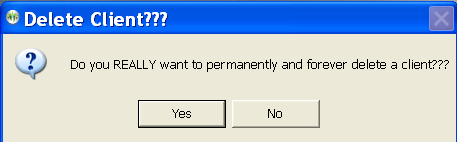
Permanently deleting an active client can be done by selecting the "permanently delete ..." option. The next step is to confirm you really want to delete a client forever. THERE IS NO RECOVERY ON DELETED CLIENTS! Perhaps archiving the entire client would be a better option (which also removes it from the active list but makes it available for restoration).
The client to delete is then selected
followed by another confirmation menu.
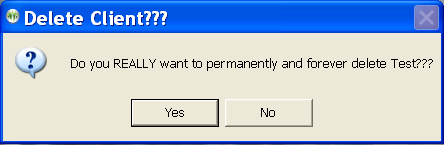
Deleting a client this way COMPLETELY and PERMANENTLY deletes the client and all information.